Most people picture smart lighting as a whole-house project with a control panel and a programmer. It can be. But the best way to find out whether it fits your family is to do one room properly, live with it for a month, and grow from there. Here is how we set that up.
Pick the room you use most in the evening
Three rooms give you the biggest change for the least work:
- The kitchen. Usually four to six lighting loads — recessed cans, pendants over the island, under-cabinet strips, maybe a sink light. Being able to bring all of it down to a warm 30% after dinner, from one button, is the moment most people “get it.”
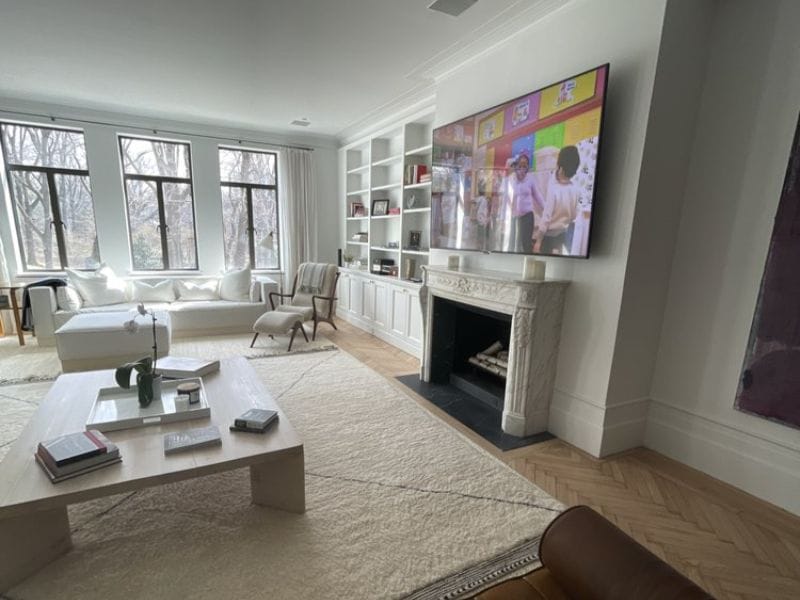
- The family or media room. A “Movie” scene that dims the room and leaves a little light behind the sofa, and a “Reading” scene that does the opposite.
- The primary bedroom. A bedside button that turns off everything on the floor, and a slow, dim morning wake-up light.
Smart dimmers, not smart bulbs
For a room, replace the wall dimmers and switches, not the bulbs. Smart bulbs stop working the moment someone flips the wall switch off, and they multiply — six cans means six bulbs to manage. A smart dimmer controls the whole circuit, looks like a normal switch, works when the Wi-Fi is down, and guests can use it without an explanation.
We install Lutron Caséta for most homes and Lutron RadioRA or Control4 lighting when it is part of a bigger system. All of them work with Alexa, Google and Apple Home.
The older-house catch: neutral wires
Many pre-1990 homes in Somerset, Union and Essex counties have switch boxes with no neutral wire. Most smart switches need one. We check every box before recommending hardware — Caséta dimmers, for example, do not need a neutral, which is one reason we use them so often in older Westfield and Montclair homes. Nobody should buy a bag of switches online and find out on install day.
Scenes people actually use
The point of smart lighting is not turning a light on with your phone. It is one press doing five things. In a kitchen we typically program:
- Cook — everything bright.
- Dinner — cans down, pendants up, under-cabinet off.
- Evening — warm and low.
- Off — the whole room, including that under-cabinet strip everyone forgets.
A small scene keypad by the main entrance to the room replaces a row of switches with four labeled buttons. Then a schedule handles the boring part: outdoor lights at dusk, a night-light path at 10pm, everything off at midnight.
How one room grows into a system
Because the dimmers talk to a small hub, adding the next room is just more dimmers. Later, the same hub runs motorized shades (a “Good morning” that raises the shades and warms the lights), the thermostat, the locks and the garage. A “Leaving” button by the door locks up, turns everything off and sets the thermostat back. Starting with lighting means the foundation is already there.
What the install looks like
A single room — four to eight dimmers, a hub, a keypad and the scenes programmed — is a few hours. We label the circuits, set up the app on your phones, and leave a card at the keypad that explains the buttons. Most people come back for the next room within a few months.
Try it: add the dimmers and a keypad for one room in the Project Builder and see a starting-at price. If you send a photo of the switch plates, we can tell you right away whether the boxes need a neutral.
Want a number for your place?
Build your project in a minute and see a starting-at price, or send us a few photos and we'll quote it.